Pikocore
 January 21, 2023
The pikocore is a handheld lo-fi music mangler.
 January 21, 2023
The pikocore is a handheld lo-fi music mangler.
The pikocore is tiny, hackable and capable music device for mangling samples on the fly.
for more info, check out my interview with Studio Brootle and a review by DJ Iceman.
All wares here are subject to the store policies: Terms of Service, Return policy, and Privacy Policy.
original audio:
pikocore:
in addition to my store, you can buy assembled devices from Perfect Circuit: click here to go to Perfect Circuit. also, if you are in the UK, diy kits are available from Thonk: click here to go to Thonk.
sign up for the mailing list to get notified about updates and new things.
there is an alternative build guide developed from noise.kitchen available here: download pdf

| item | quantity |
|---|---|
| Pico w/ RGB | 1 |
| 5V DC-DC step-up | 1 |
| 1.8mm LED | 8 |
| Audio jack (PJ-320B straight) | 3 |
| 6x6x4.5 button | 8 |
| AAA Battery holder (45 mm between pins) | 1 |
| SPDT switch | 1 |
| 1x3 male header | 1 |
| 10k potentiometer (RV09, 12.5 mm) | 4 |
| 1x20 female header | 2 |
| 1x20 male header | 2 |
| 0.1 uF capacitor | 2 |
| 1 uF capacitor | 1 |
| 10 kohm resistor | 3 |
| 1 kohm ressitor | 9 |
| 100 ohm resistor | 3 |
| 2N3904 NPN transistor | 1 |
https://github.com/schollz/pikocore
Download these to get the pikocore back to the “stock” image or upgrade it to a newer image.
To upload your own samples, use the sample uploader tool below.
there are some great alternative firmwares that utilize the same hardware but with a different solution!
a drum sequencer for the pikocore.
by @ rheslip! source code: https://github.com/rheslip/PikoBeats
a sample sequencer for the Pikocore.
also by @ rheslip! source code: https://github.com/rheslip/Piko-33
full instructions are available here: download pdf
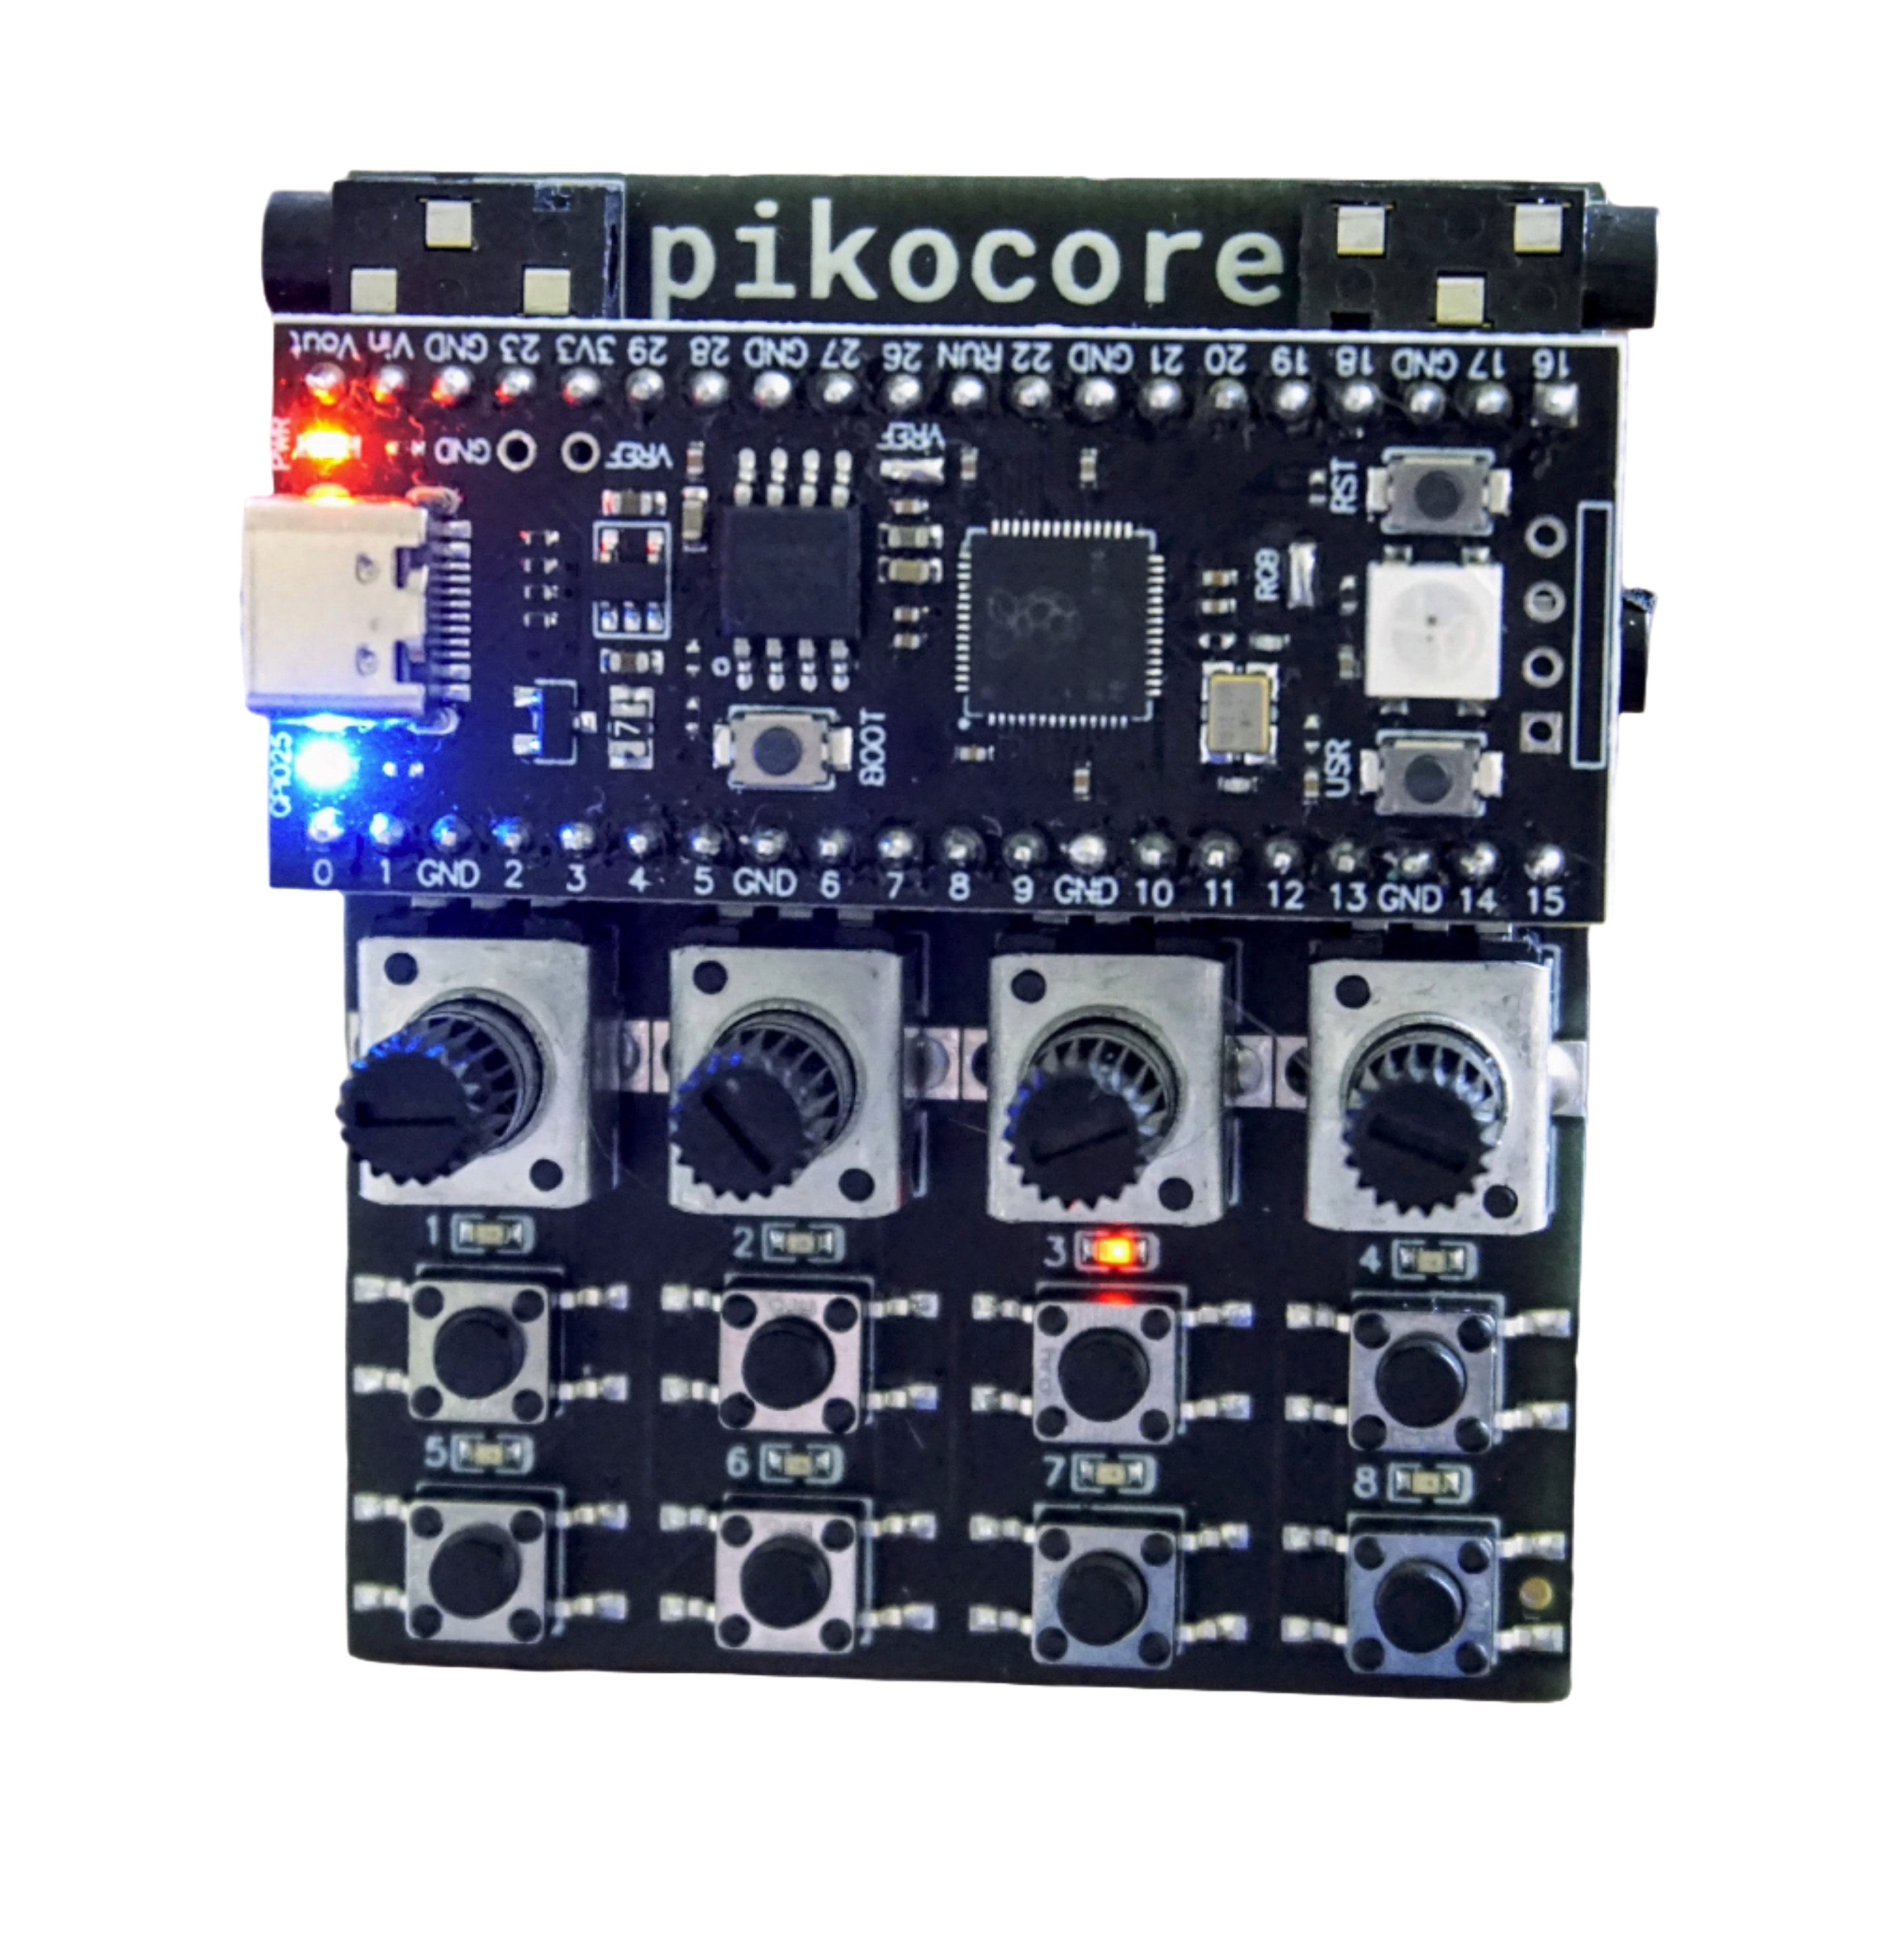
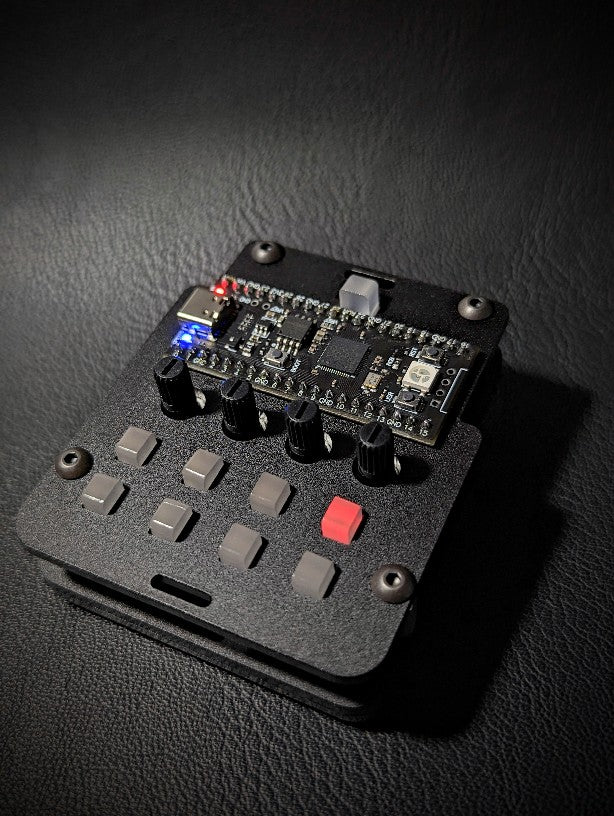
there are eight buttons and four knobs that can be used to manipulate the pikocore. there are two outputs and one input. make sure to plug in only stereo cables to any outputs or inputs.
the top left jack is for incoming trigger signal (e.g. from a pocket operator in SYN1 mode or a pikocore). the top right jack sends out audio. the bottom right jack sends out trigger signal and audio signal (for syncing to pocket operators using SYN4 mode).
The buttons on the device can be used to jump to samples and retrigger audio in real time.
jumping: Press any of the eight buttons to jump to that relative position in the sample.
retriggers: Press and hold a button and press another button to create a retrigger effect. The retrigger speed is based on the position of the second button press. Random effects add added to the retriggers, such as changes in speed, pitch, filter envelopes, or volume envelopes.
stop/play: press the two leftmost buttons and the two rightmost buttons simultaneously to stop/play.
Button mashing is encouraged.
The rightmost knob is a filter/volume knob that controls the output level. The leftmost knob is the selector knob, which can choose between eight different positions. Each position changes a different pair of parameters, which can be changed using the middle two knobs, knob A and knob B.
| selector pos | knob a | knob b |
|---|---|---|
| 1 | sample | break |
| 2 | filter | stretch |
| 3 | gate | gate prob. |
| 4 | jump prob. | retrig prob. |
| 5 | tunnel prob. | reverse prob. |
| 6 | sequencer rec. | sequencer on |
| 7 | save | load |
| 8 | volume/fold | tempo |
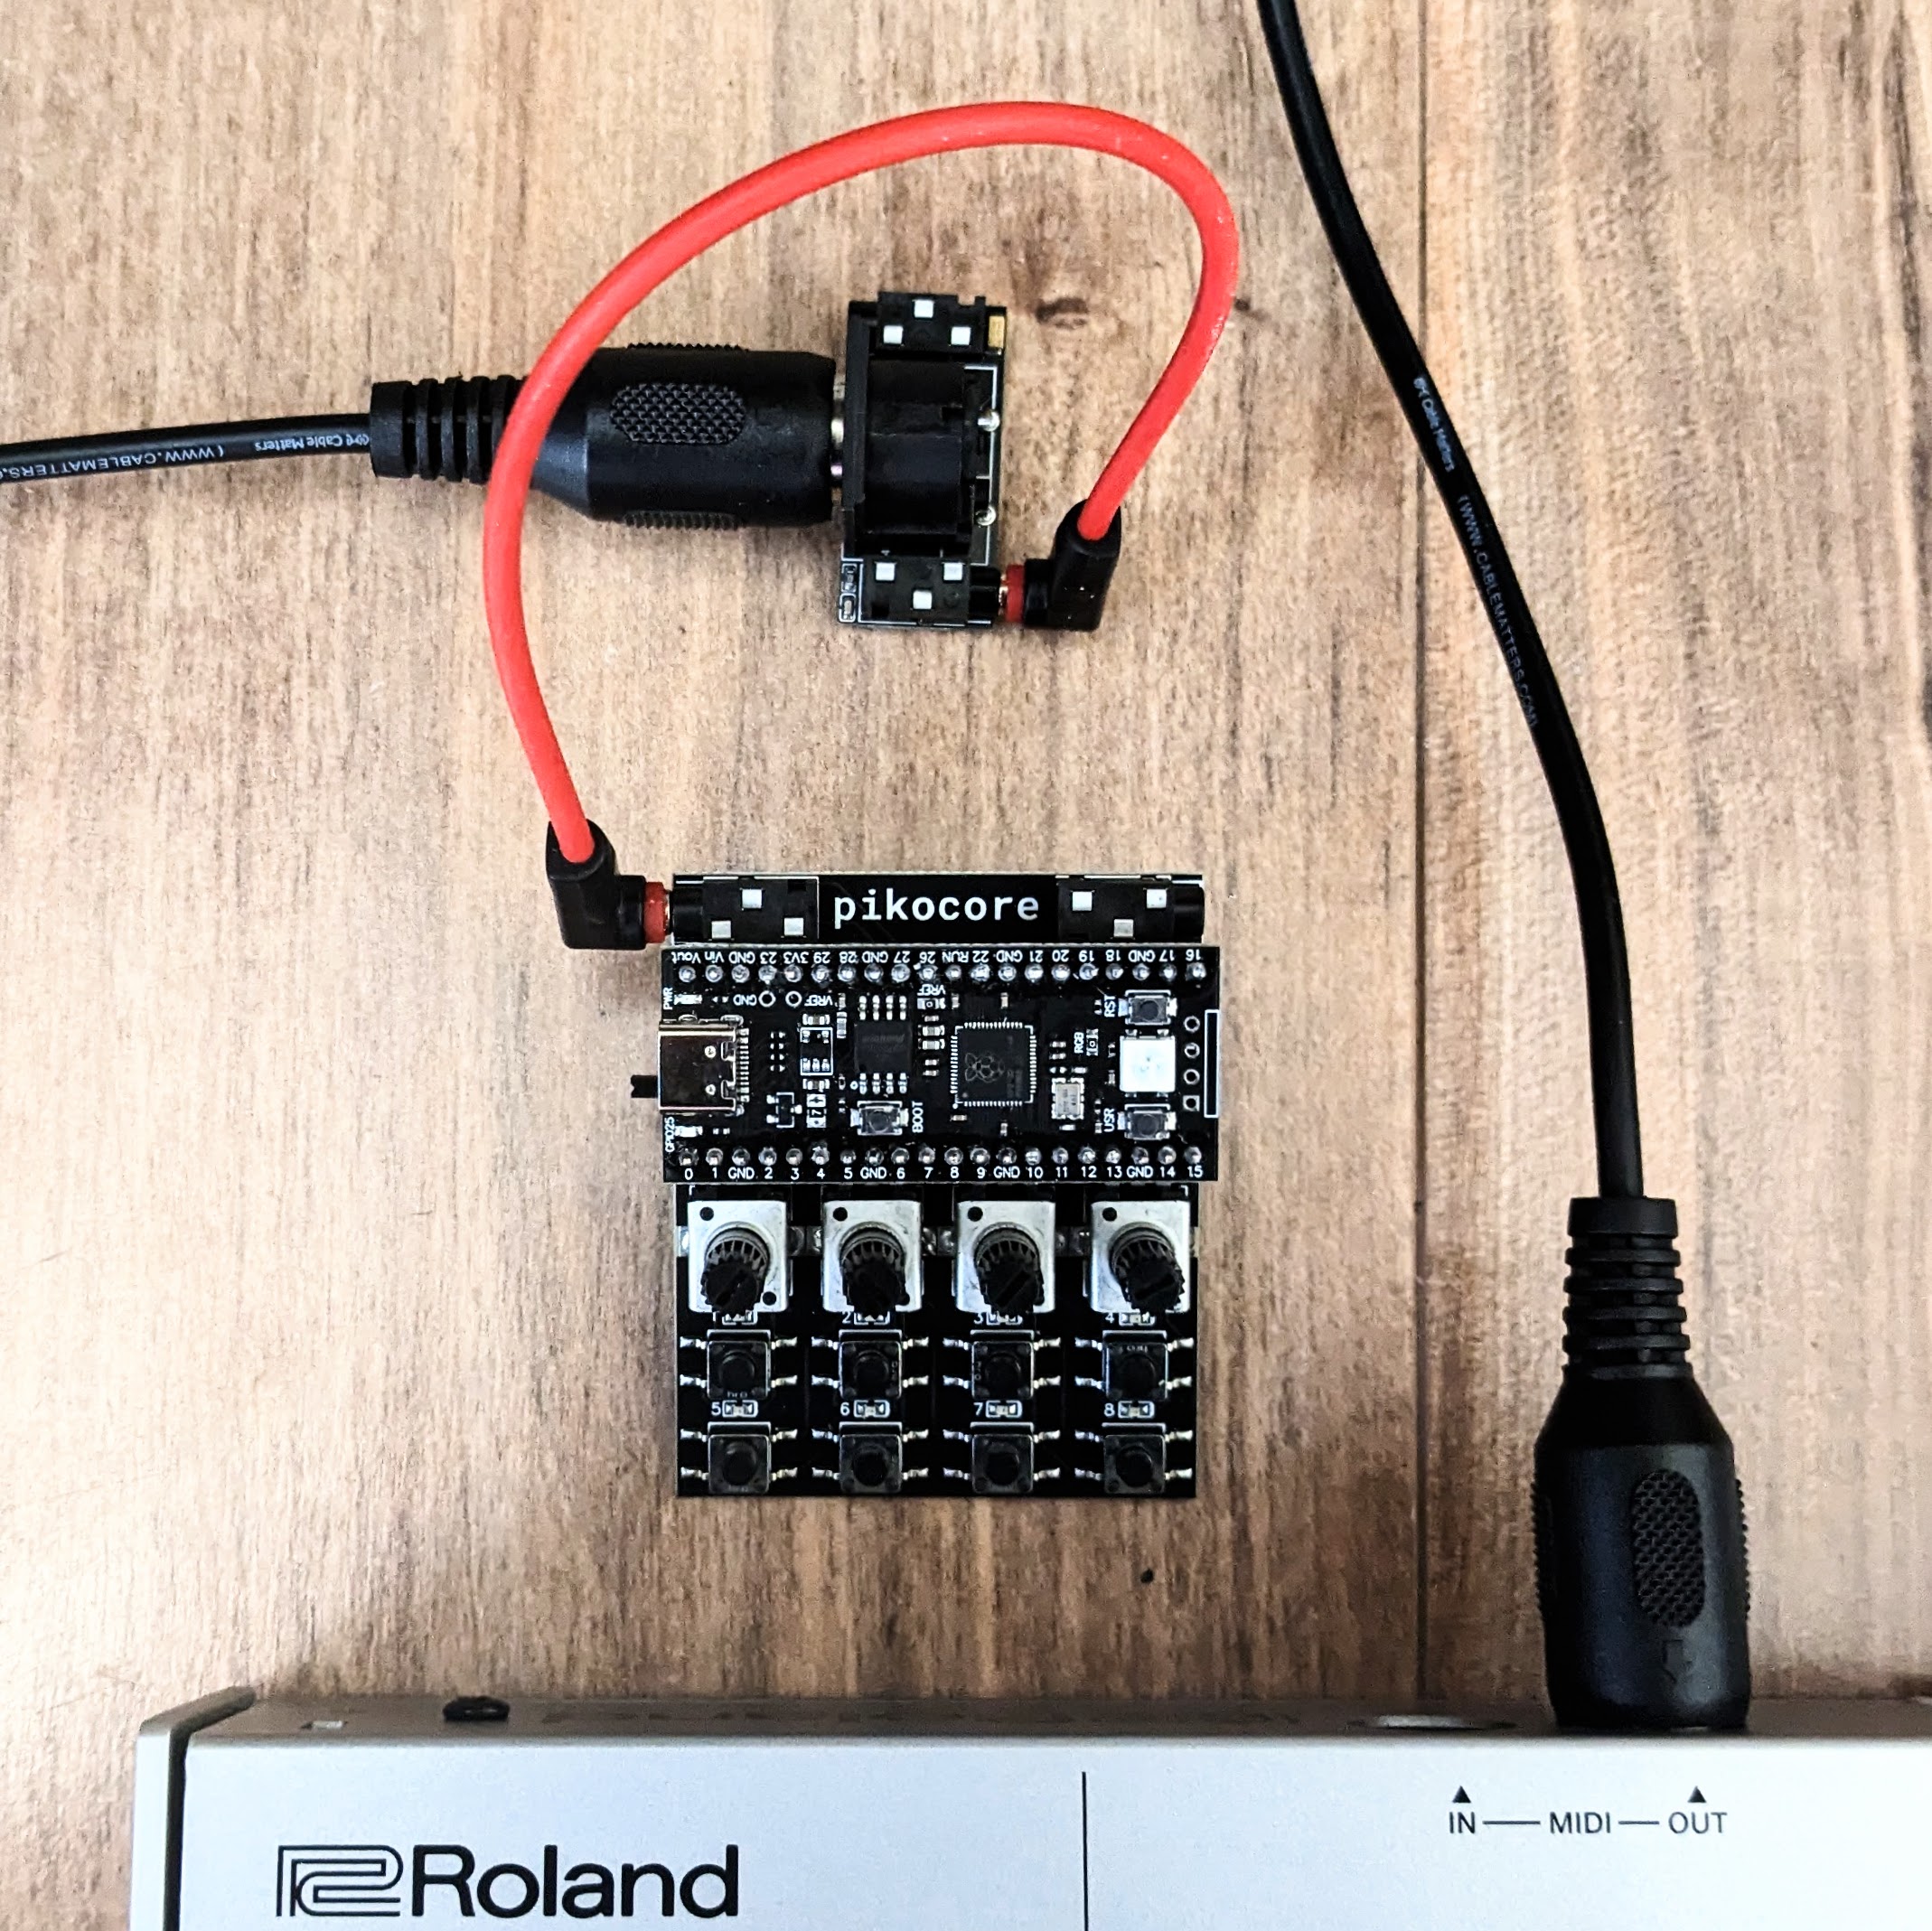
pikocore uses a audio click signal to sync and is fully compatible with sync signals coming from other devices, like the teenage engineering pocket operators. The pikocore syncing operates at 2 PPQN and has max input/output voltages of 3V.
The upper left audio jack takes in a PO sync signal (SYN1 on Pocket Operator) and will automatically sync the pikocore. The output sync is separate from the main audio output jack, situated below the Pico mcu. When using a pocket operator, set the receiving device to SYN4 (or SYN5 if the chain continues.
In version 1.2+, you can “lock” the clock so that the beat continually stays on track and doesn’t get diverted when you jump between samples. this is super helpful if you are syncing and you don’t want to get “off” beat when jumping between audio.
you can activate/deactivate this feature by pressing the middle four buttons (yellow = on, teal = off).
more information in this video:
Set the tempo by turning the selector knob fully CW to the eighth spot and then turning knob b. The BPM available is between 50 and 305, and the current value is displayed using binary encoding. Instead of memorizing the binary encoding, you can use tool below to visualize the tempo you want to match. Change the slider and then on the pikocore move knob b so that the lights match up to get this bpm. Because of the clock in the pikocore, BPMs are only accurate to 2%.
the pikocore is capable of listening to midi using a itty bitty midi device plugged into its clock input.
this behavior needs to be enabled at the firmware level, and the firmware tool below can be used to update the settings to listen to midi.
the pikocore automatically sets tempo and syncs to a midi clock. it also listens to midi start/stop/continue commmands to synchronize with sequencers. the firmware tool lets you change the midi clock division. you can also toggle a setting in the firmware to have the key presses of a midi keyboard work as buttons, so you can sequence your own button presses.
as of v1.3+ the pikocore is capable of sending midi out over USB. each of the eight steps is a midi note which can be adjusted by pressing and holding a button and then turning the leftmost knob.
Updating the pikocore is easy. Simply press the “boot” button and plug in a USB-C cable, or press and hold “boot” while pressing “rst” when the USB-C cable is already plugged into your computer.
Then download the .uf2 file (either from factory reset firmware, or customized firmware, see below) and drag-and-drop it to the drive that pops up in your computer (usually named RPI-RP2). Visual instructions are available with
this YouTube video that explains the process for uploading firmware.
Use this tool to change the audio on the pikocore. This will automatically utilize the latest firmware of the pikocore.
Uploaded audio is automatically converted to the base sample rate (33 kHz) and to the base BPM (165 BPM). If you know the BPM of your sample, you can help the server detect it by including it in the filename somewhere as bpmX. For example, my_drum_bpm150.wav will automatically be registered as 150 BPM. You can also include the number of beats in the filename somewhere as beatsY. For example, my_drum_bpm150_beats4.wav will be registered as having 4 beats. If no information is included, the server will do its best to detect the BPM and then determine the number of beats to be used for beat syncing.
(water color image by Sebtic Smile)
send me your remixes! they light up my day (literally!). there are some amazing ingenuity with creating enclosures for pikocore:
Pikocore cases are now available for the DIY pikocore, sold separately through Dich Studios. Features: Frosted buttons which allow the LEDs to shine through, Full access to the battery, usb and audio ports. A matching power switch cap for easy operation, Rubber feet to minimize sliding, and several slots for attaching a lanyard.
Here are some fixes for issues that may crop up when using pikocore.
Not all batteries are the same! The device works best with Alkaline batteries, as opposed to the cheaper Carbon Zinc batteries. Alkaline batteries tend to hold their voltage longer whereas the Carbon Zinc drop in voltage quickly and no longer have enough voltage to power the device (even though there is still current in the battery!).
This happens if you plug in a mono cable to the audio output. Make sure to use only 3.5mm stereo cables and make sure they are pluggined in all the way.
This seems to happen sometimes while powered by the AAA battery and the potentiometers are in a certain position. Try turning the potentiometers CCW to eliminate the noise. If that doesn’t work, try rotating the battery in is holder. If it is still a problem, try powering from a USB powerbank.
This can happen if the filter gets set fully closed, or the timestretch is at 100%, or the volume if fully down. The best thing to do is to reset these three parameters. Move the selector knob to the second position and turn knob a fully CW and turn knob b fully CCW. This will reset the filter and the timestretch. Now move the selector knob to the eight and last position and try to turn knob a until you can hear something (the volume). This should fix it 90% of the time.
Please feel free to send me an email at zack@infinitedigits.co.